When it comes to refreshing your home’s interior, the kitchen often takes center stage. Cabinets, being one of the most prominent features in any kitchen, can dramatically alter the space’s overall look and feel. However, a complete cabinet overhaul can be costly. The good news is that there are several budget-friendly ways to give your cabinets a fresh look without breaking the bank.
1. Repainting Cabinets: A Fresh Coat for a Fresh Start
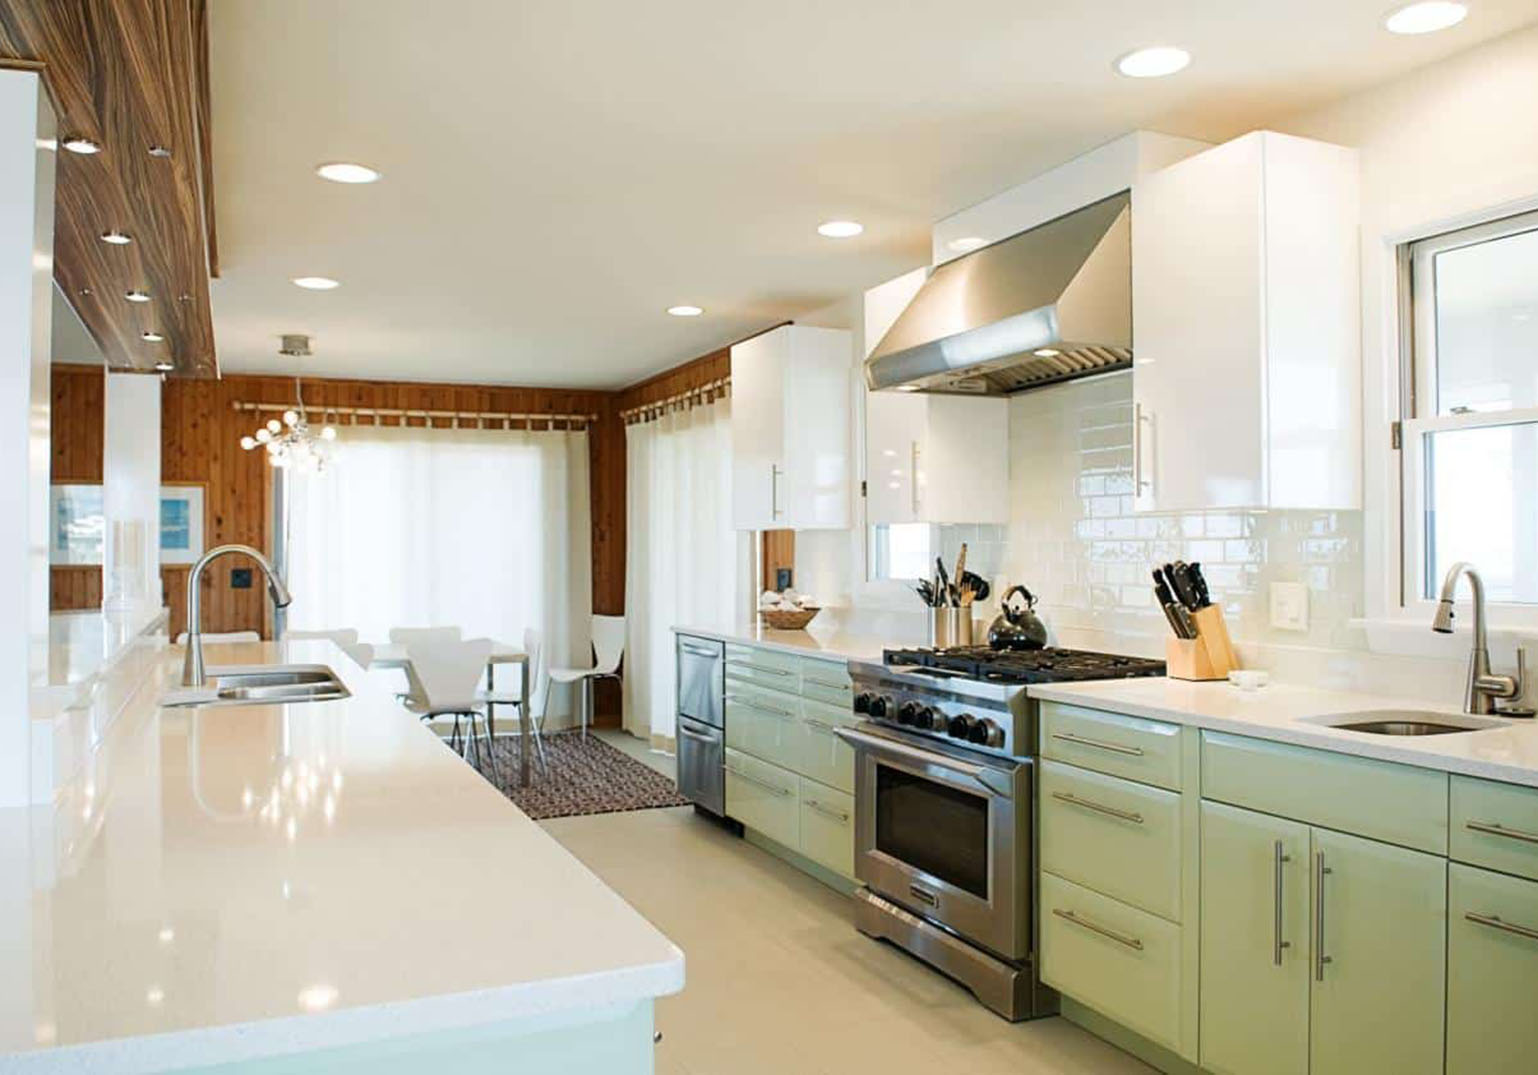
One of the most effective and affordable ways to transform your kitchen cabinets is by repainting them. Repainting is particularly budget-friendly if your cabinets are structurally sound but need a cosmetic update.
Choosing the Right Paint:
When selecting paint for your cabinets, it’s important to choose a durable, high-quality option designed for kitchen environments. Semi-gloss or satin finishes work best as they are easy to clean and resistant to moisture. Popular colors for cabinet makeovers include classic whites, soft greys, deep blues, and even bold hues like emerald green or navy blue for a more dramatic effect.
Step-by-Step Repainting Process:
- Preparation: Start by removing all cabinet doors, drawers, and hardware. Label each piece to ensure easy reassembly. Clean the surfaces thoroughly with a degreaser to remove any grease or dirt.
- Sanding: Lightly sand the surfaces to create a smooth base for the paint to adhere to. Use a fine-grit sandpaper for the best results.
- Priming: Apply a primer suitable for your cabinet material (wood, laminate, etc.). This step is crucial for achieving a long-lasting finish.
- Painting: Once the primer is dry, apply your chosen paint color. Use a high-quality brush or roller for a smooth finish. You may need two or three coats for full coverage, allowing ample drying time between each coat.
- Reassembly: Once the paint is completely dry, reattach the hardware, doors, and drawers.
Cost Estimate: Repainting your cabinets yourself can cost between $100 and $300, depending on the size of your kitchen and the quality of the paint and supplies used.
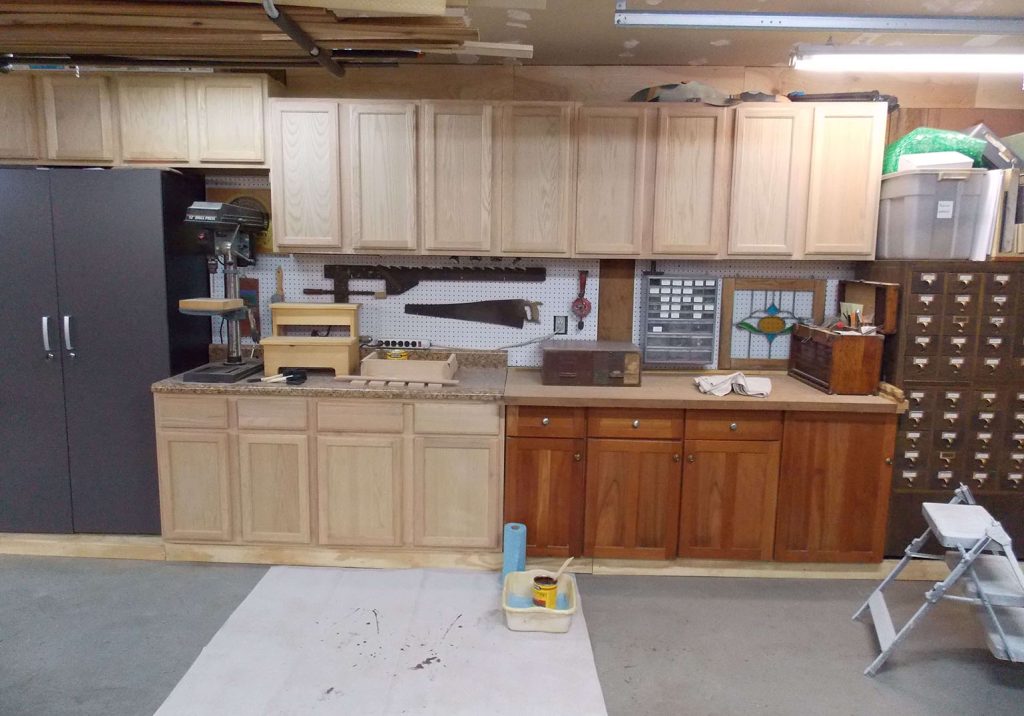
2. Refinishing Cabinets: Restoring the Original Beauty
If your cabinets are made of wood and you prefer a more natural look, refinishing might be the way to go. Refinishing involves stripping off the old finish and applying a new stain or sealant, giving your cabinets a fresh, natural wood appearance.
Steps for Refinishing Cabinets:
- Stripping the Old Finish: Use a chemical stripper to remove the existing finish. This step requires careful application and patience, as the stripper needs time to work effectively.
- Sanding: After stripping, sand the cabinets to smooth the surface and remove any remaining finish.
- Staining: Choose a stain color that complements your kitchen’s overall aesthetic. Apply the stain evenly with a cloth or brush, wiping off excess to achieve the desired shade.
- Sealing: Once the stain is dry, apply a clear sealant to protect the wood and enhance the finish. Polyurethane or varnish are good options.
Cost Estimate: Refinishing can be done for $150 to $400, depending on the size of the project and the materials used.
3. Changing Hardware: Small Changes, Big Impact
Sometimes, the simplest changes can make the most significant difference. Updating the hardware on your cabinets—such as knobs, handles, and hinges—can instantly modernize the look of your kitchen without requiring a major investment.
Choosing the Right Hardware:
Consider the style of your kitchen when selecting new hardware. Sleek, stainless steel or matte black handles work well in modern kitchens, while ornate, brushed nickel or brass knobs may be better suited for traditional or farmhouse-style kitchens. You can also mix and match styles for a more eclectic look.
Installation Tips:
- Measure Twice, Drill Once: Before drilling new holes, ensure the hardware is positioned correctly. Use a template to maintain consistency across all cabinets.
- Replace or Reuse: If your current hardware is in good condition, consider giving it a makeover with a coat of spray paint or polish to match your new kitchen theme.
Cost Estimate: Replacing hardware typically costs between $50 and $150, depending on the number of cabinets and the style of hardware chosen.
4. Adding Decorative Molding: Elevate the Aesthetic
Adding decorative molding to your cabinets is another cost-effective way to upgrade their appearance. Crown molding, for example, can add a touch of elegance and make your cabinets look custom-built.
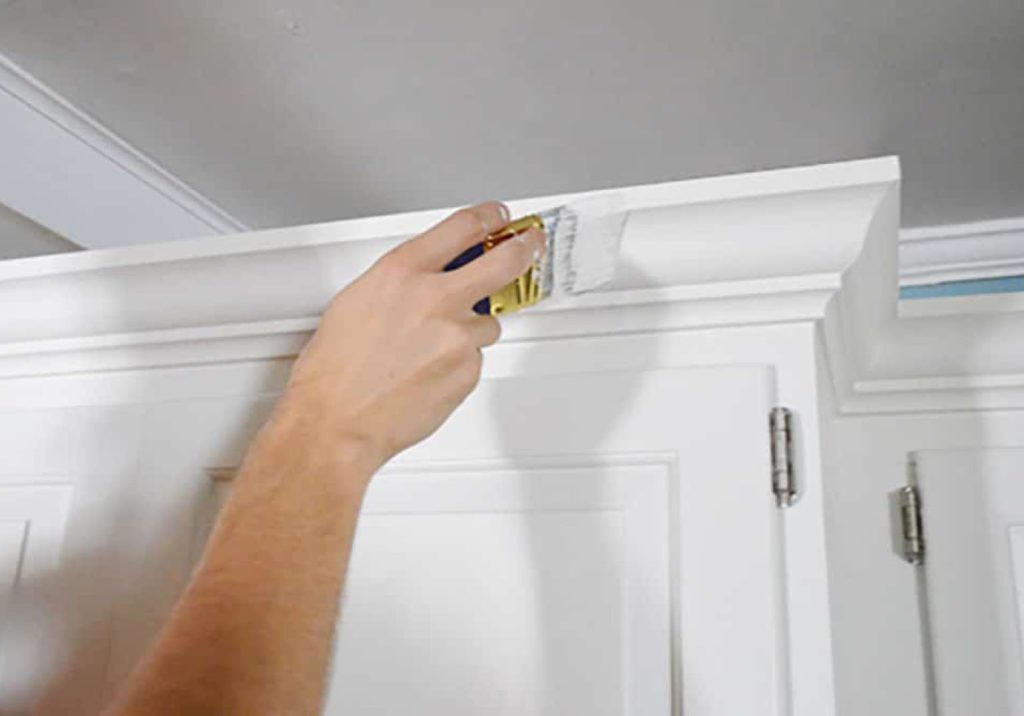
Types of Molding:
- Crown Molding: Installed at the top of the cabinets, crown molding can make your cabinets look taller and more sophisticated.
- Base Molding: Adding molding at the base of your cabinets can give them a more polished and finished appearance.
- Decorative Trim: Applying trim around the cabinet doors or drawers can create a more detailed, custom look.
Installation Process:
- Measure and Cut: Measure the areas where you want to install the molding and cut the pieces to size using a miter saw.
- Attach the Molding: Use wood glue and finishing nails to attach the molding to the cabinets. Ensure everything is aligned correctly before securing it in place.
- Caulking and Painting: Fill any gaps with caulk and touch up with paint to match the cabinets.
Cost Estimate: Adding molding to your cabinets can cost anywhere from $100 to $300, depending on the type and amount of molding used.
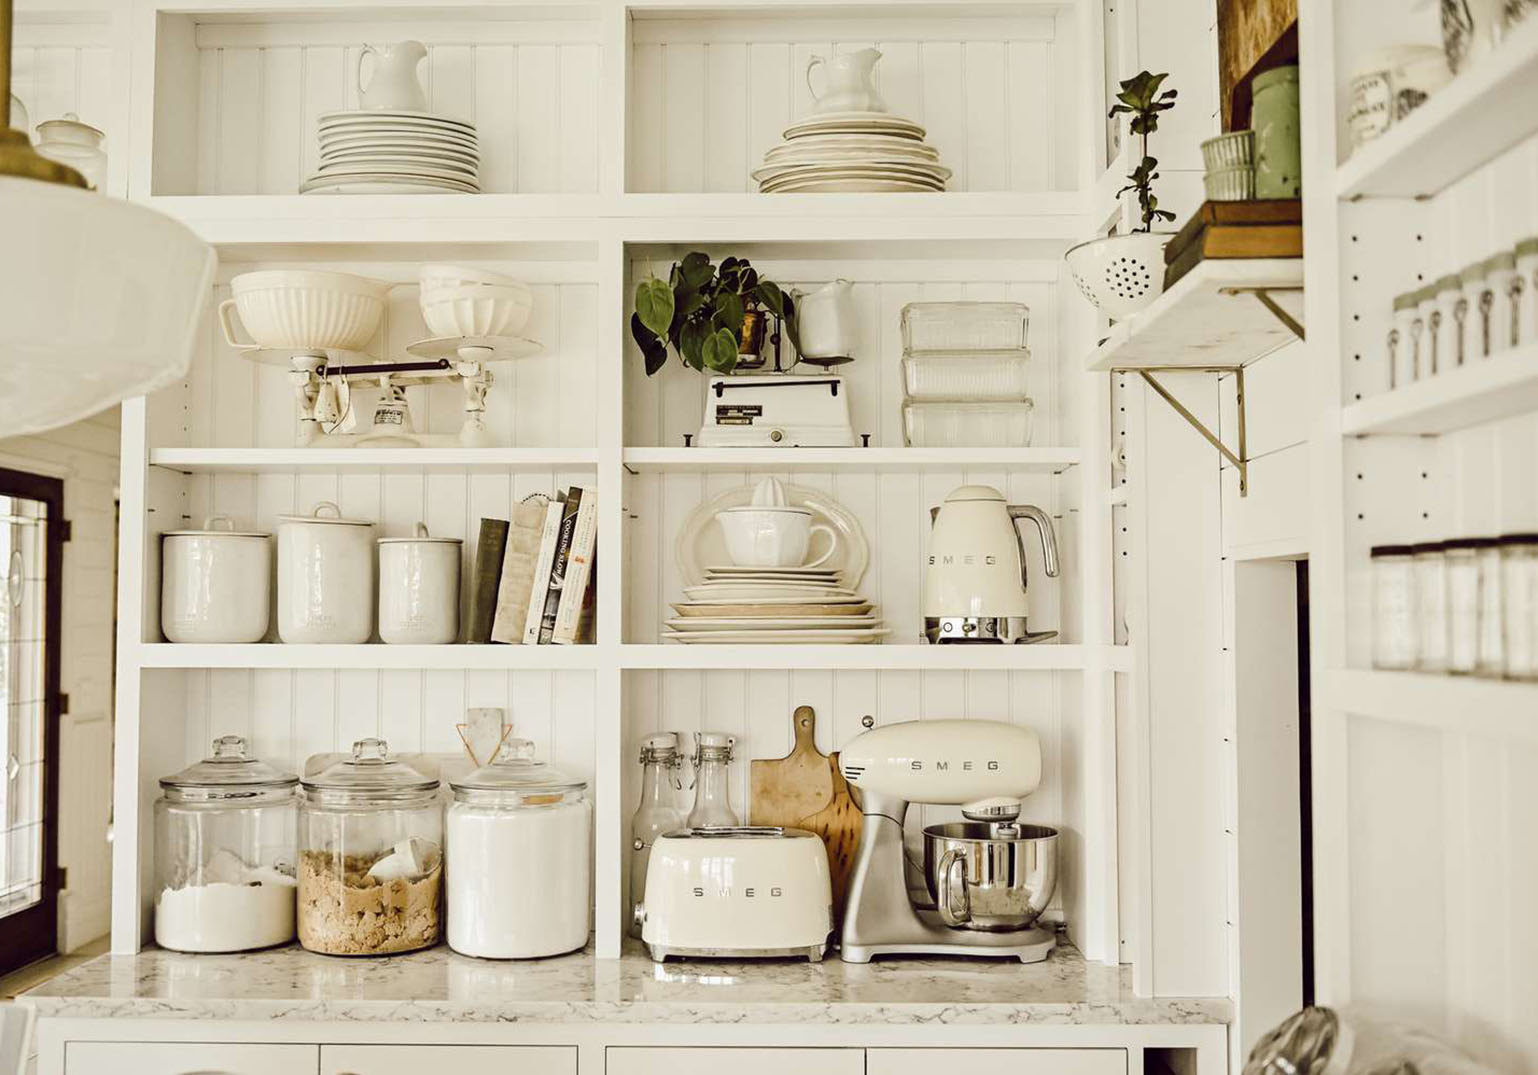
5. Open Shelving: A Modern and Budget-Friendly Alternative
If you’re looking for a more dramatic change, consider removing some of your cabinet doors to create open shelving. This approach works particularly well in smaller kitchens, as it can make the space feel more open and airy.
Benefits of Open Shelving:
- Cost-Effective: Removing doors is free, and if you need to add shelves, the cost is minimal.
- Stylish Display: Open shelving allows you to display your favorite dishes, glassware, and decorative items, adding a personal touch to your kitchen.
- Ease of Access: With everything on display, it’s easier to find and access the items you use most frequently.
How to Create Open Shelving:
- Remove Doors: Carefully remove the cabinet doors, including hinges and screws.
- Paint or Finish Shelves: If your shelves are in good condition, consider painting or staining them to match the rest of the kitchen.
- Decorate: Arrange your dishes and other items on the shelves, being mindful of both aesthetics and functionality.
Cost Estimate: Creating open shelving can be done for as little as $20 to $100, depending on whether you need to purchase additional shelving or paint.
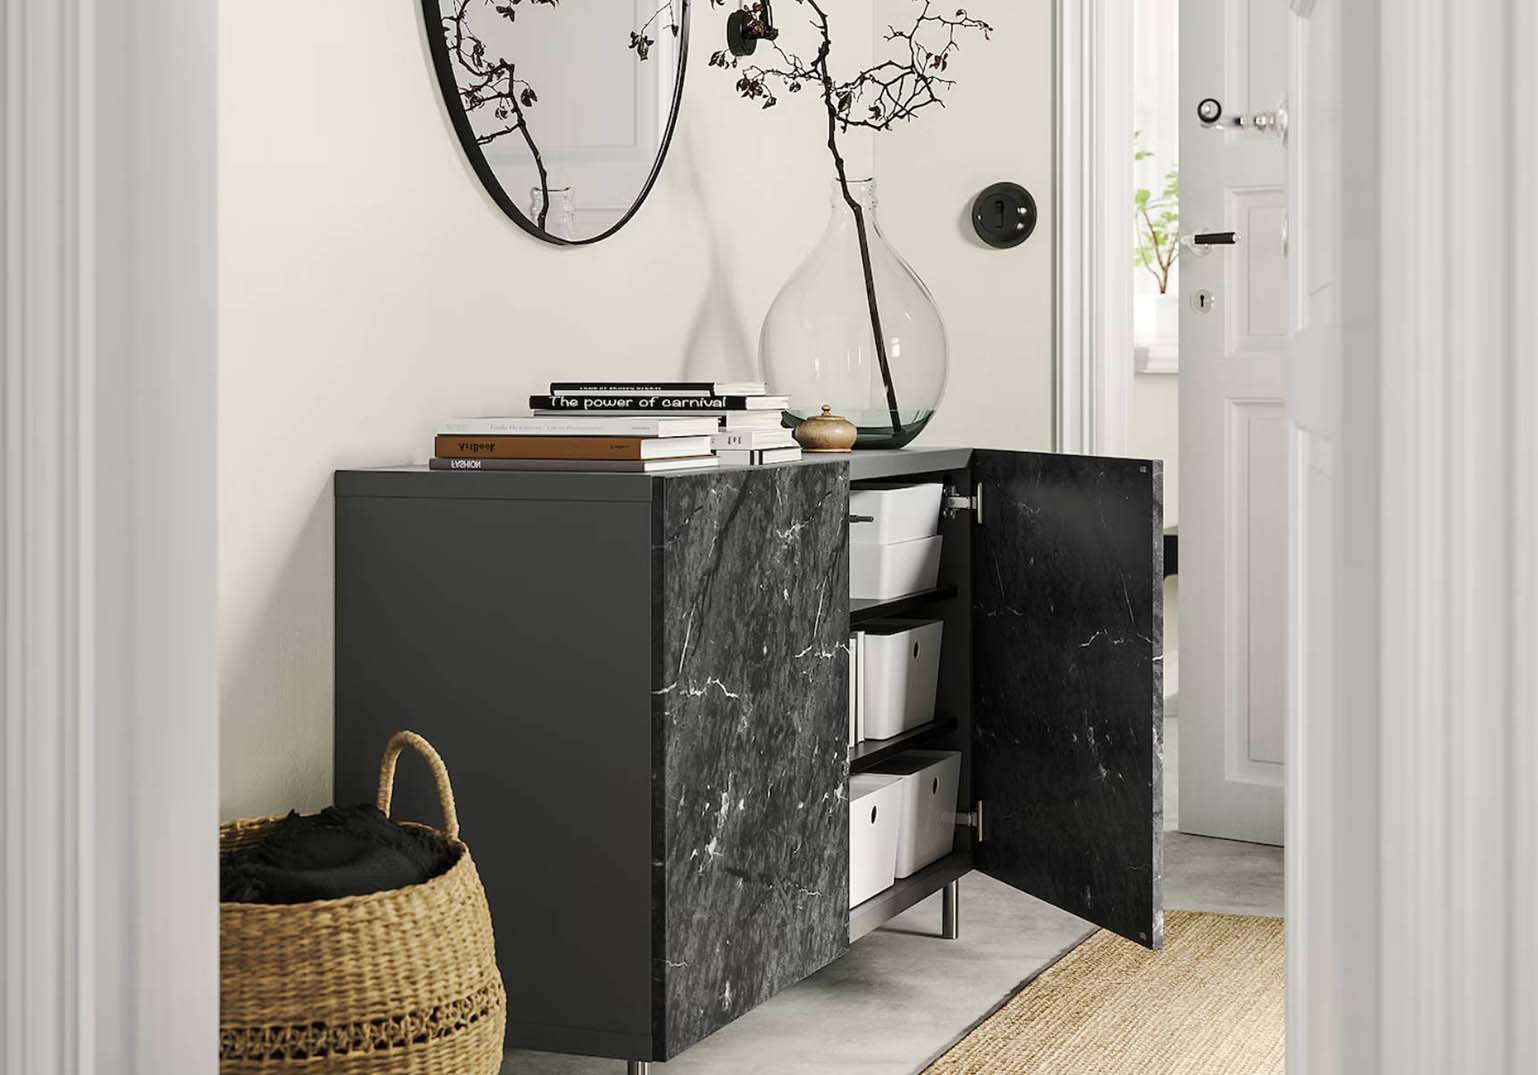
6. Cabinet Liners: Protect and Beautify
Adding liners to the inside of your cabinets is a small, often overlooked upgrade that can protect the shelves and enhance the look of your cabinets. Liners are especially useful in areas where you store food, dishes, or cleaning supplies.
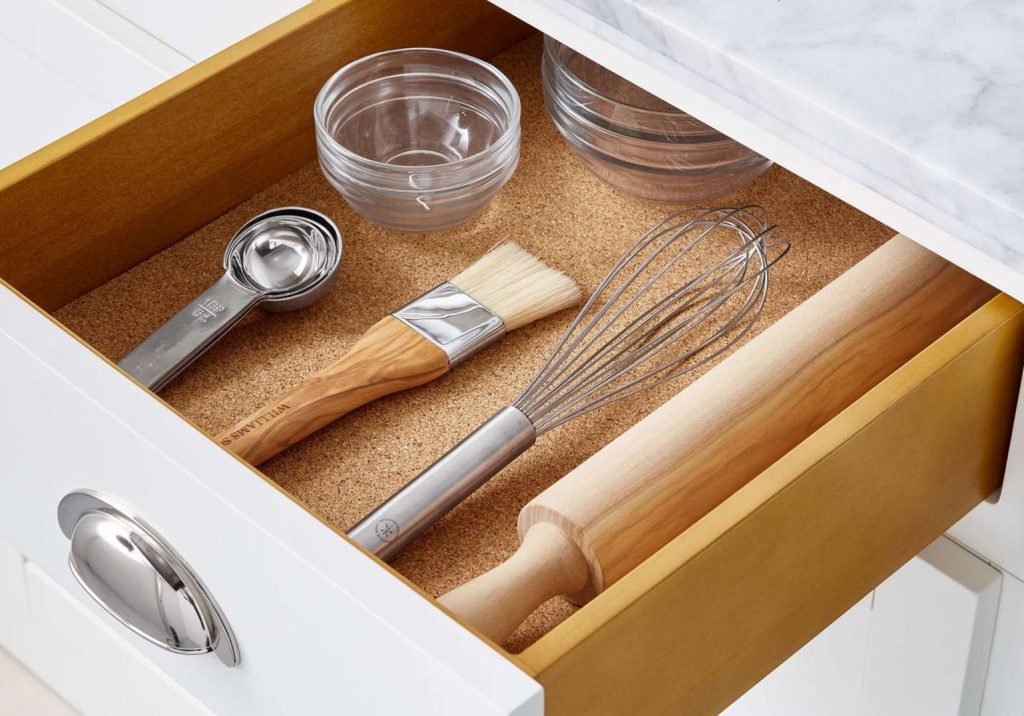
Choosing the Right Liner:
- Material: Consider non-slip liners for cabinets where you store glassware or delicate items. Vinyl or adhesive liners are also popular for their durability and easy cleaning.
- Design: Liners come in various colors and patterns, allowing you to add a splash of personality to your cabinets’ interiors.
Installation Tips:
- Measure and Cut: Measure the dimensions of your shelves and cut the liner to size. If using adhesive liners, carefully peel and stick them in place.
- Secure Edges: Ensure the liner is flat and secure, particularly at the edges and corners, to prevent it from shifting or bunching up.
Cost Estimate: Adding liners to your cabinets typically costs between $20 and $50, depending on the material and amount needed.
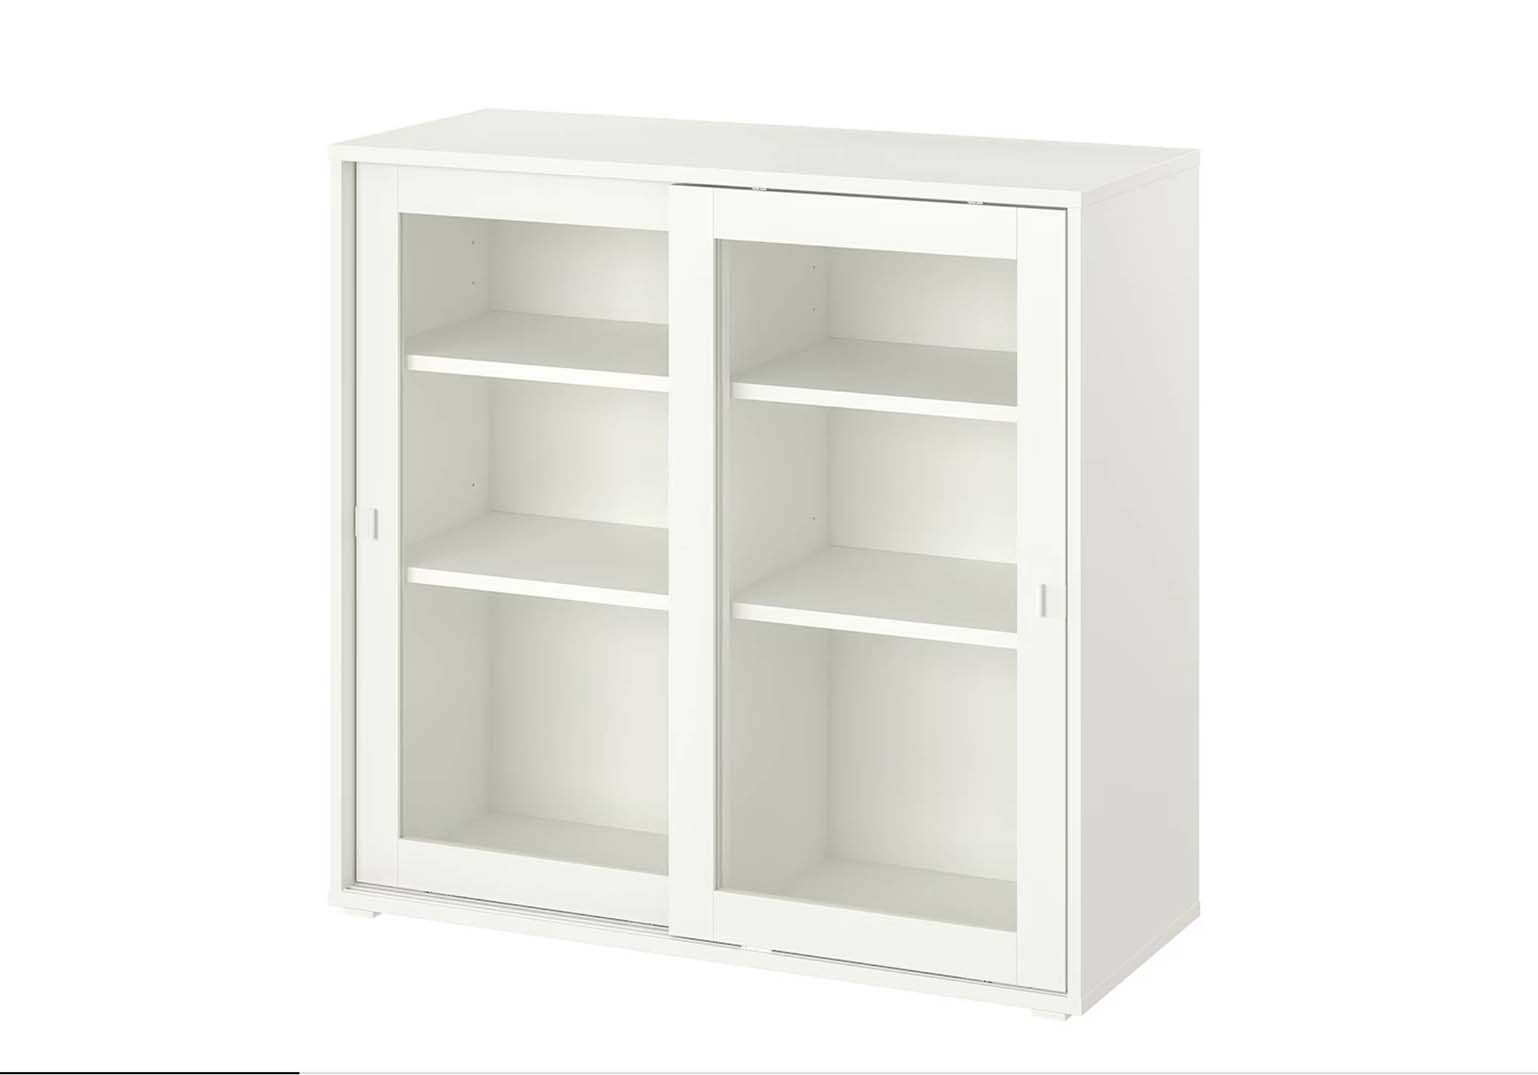
7. Glass Inserts: Adding a Touch of Transparency
For a more sophisticated look, consider replacing the center panels of some of your cabinet doors with glass inserts. Glass-front cabinets can make your kitchen feel lighter and more open, while also providing a place to display your finest dishware.
Types of Glass Inserts:
- Clear Glass: Offers a classic look that puts your dishes on full display.
- Frosted Glass: Provides a more subtle, modern appearance while still allowing a hint of what’s inside.
- Textured or Patterned Glass: Adds a decorative element and conceals the contents more than clear glass.
Installation Process:
- Remove the Panel: Carefully remove the center panel of the cabinet door using a saw or router.
- Install the Glass: Have the glass cut to size at a local glass shop, then secure it in place with glass clips or adhesive.
- Reattach the Door: Once the glass is securely in place, reattach the door to the cabinet frame.
Cost Estimate: Installing glass inserts can cost between $100 and $300, depending on the type of glass and the number of doors.
Making Your Budget Work for You
Revamping your kitchen cabinets doesn’t have to be an expensive endeavor. By implementing some of these budget-friendly ideas—repainting, refinishing, updating hardware, adding decorative molding, or creating open shelving—you can achieve a fresh, modern look without the high cost of a full renovation. Each of these methods allows you to tailor your cabinets to your personal style, while also improving the functionality and aesthetic appeal of your kitchen.